If you have WSL distributions installed on your Windows machine, SecureCRT can be configured to connect directly to an available WSL distribution by using the Local Shell protocol.
To configure a SecureCRT session to connect to your default WSL distribution:
You should now have a session manager entry that will automatically connect you to your default WSL distribution. Feel free to rename the session to something like:
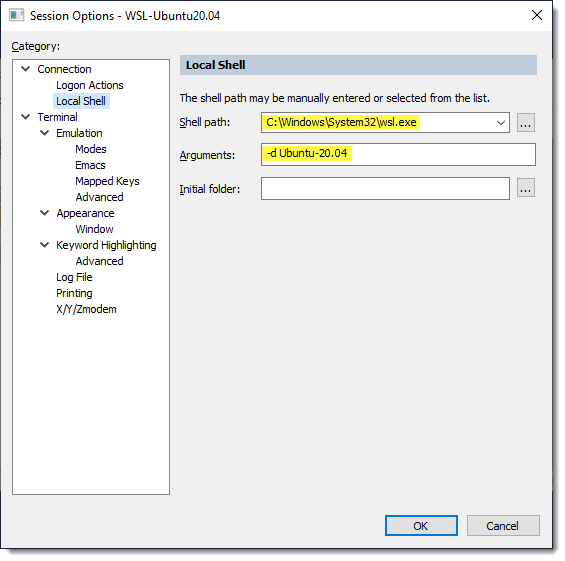
To configure a SecureCRT session to connect to a non-default WSL distribution:
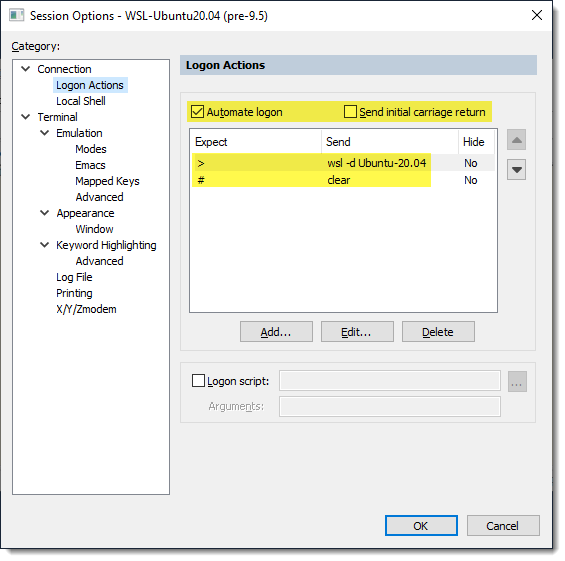
What about SecureCRT 9.4 and earlier versions?
For Windows versions of SecureCRT prior to 9.5.x which still support the Local Shell protocol, you could potentially get a local shell connected to a WSL instance by setting the Shell to CMD.exe (or PowerShell.exe, if that's your preference), and then use SecureCRT's Logon Actions Expect/Send functionality to drive the process of launching from the command line the wsl command with your desired non-default WSL distribution as shown below.
VanDyke Software uses cookies to give you the best online experience. Before continuing to use this site, please confirm that you agree to our use of cookies. Please see our Cookie Usage for details.